
The complete guide
A Practical Guide to Choosing T Strap Hinges
A door that drags, twists or feels loose can make a simple daily task annoying. New hinges may be part of the repair, but choosing by appearance alone can leave you with hardware that does not fit. Door weight, sound timber and the space around the frame all matter.
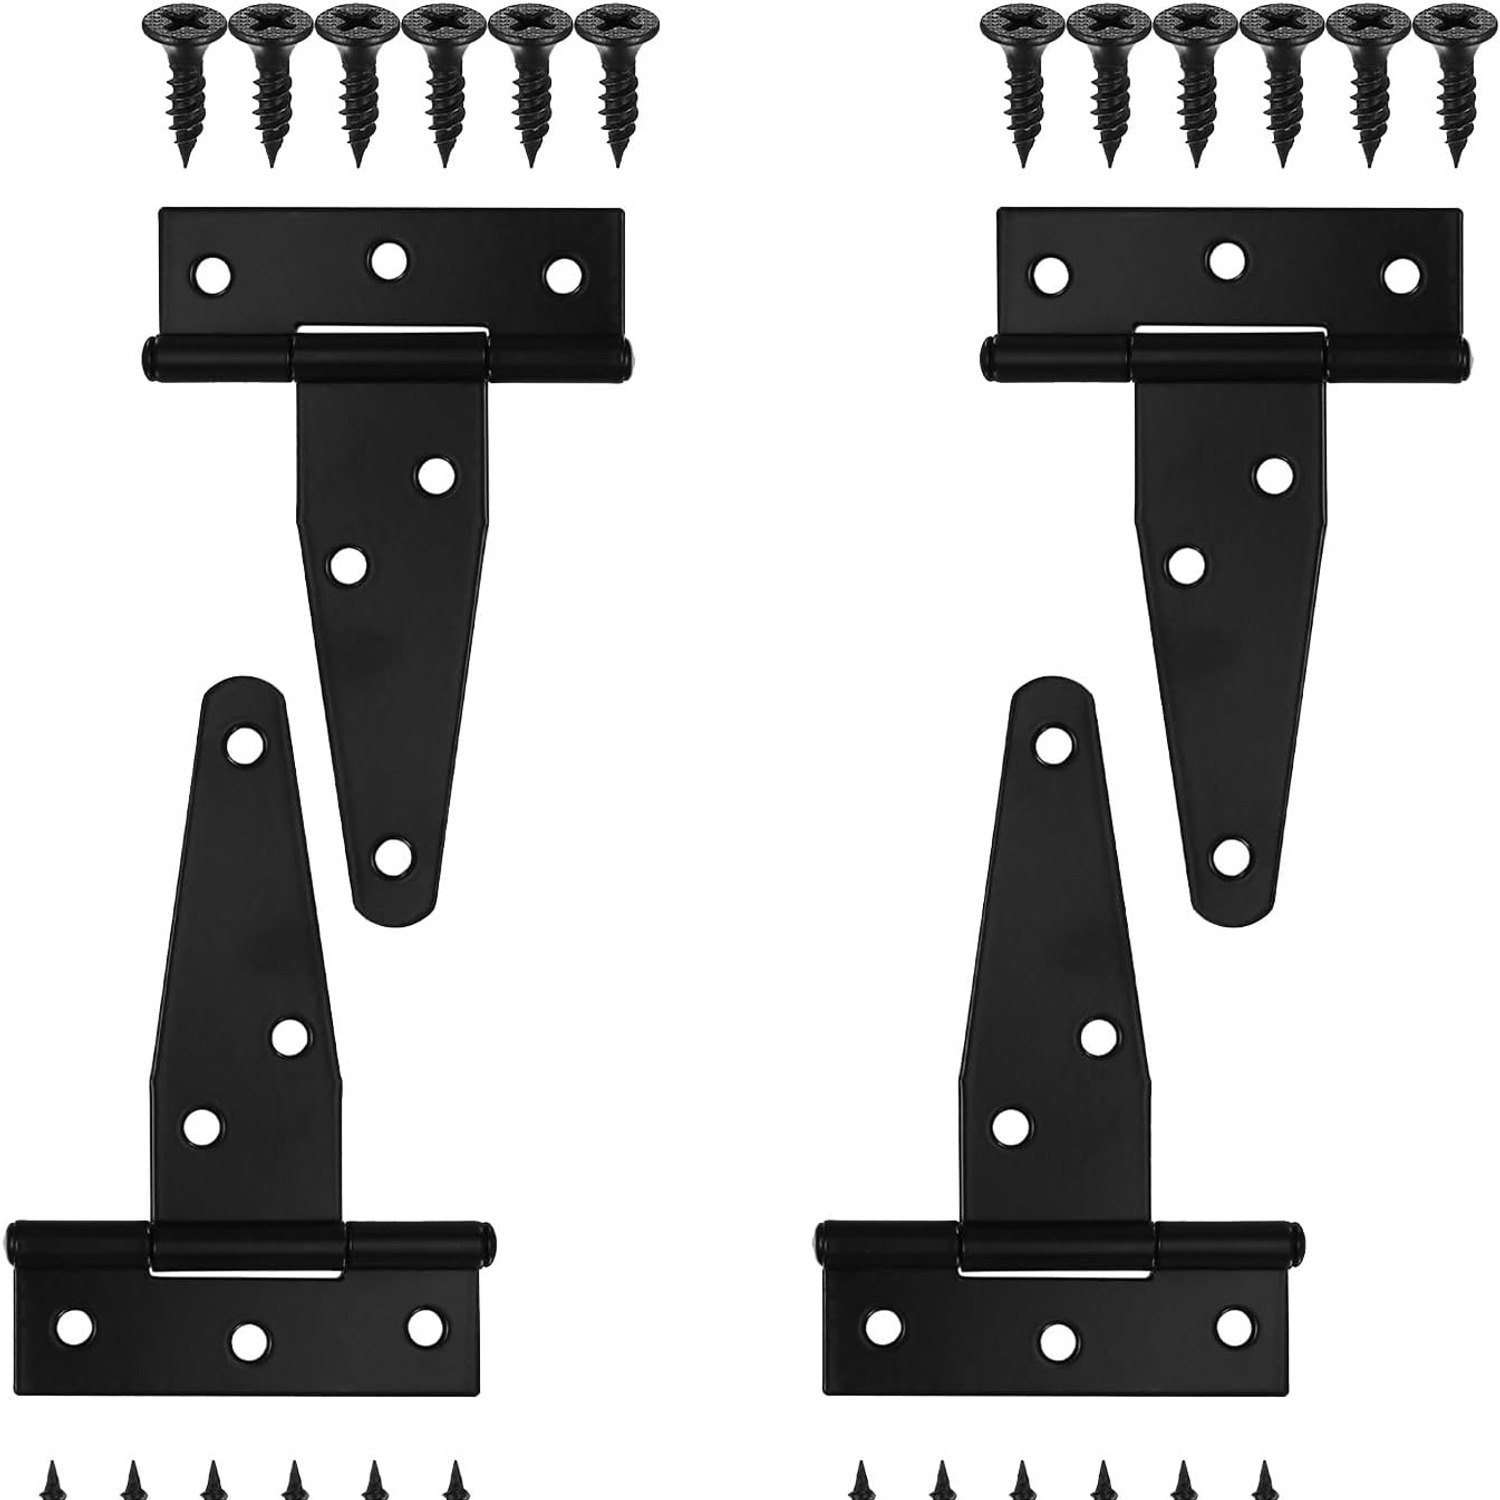
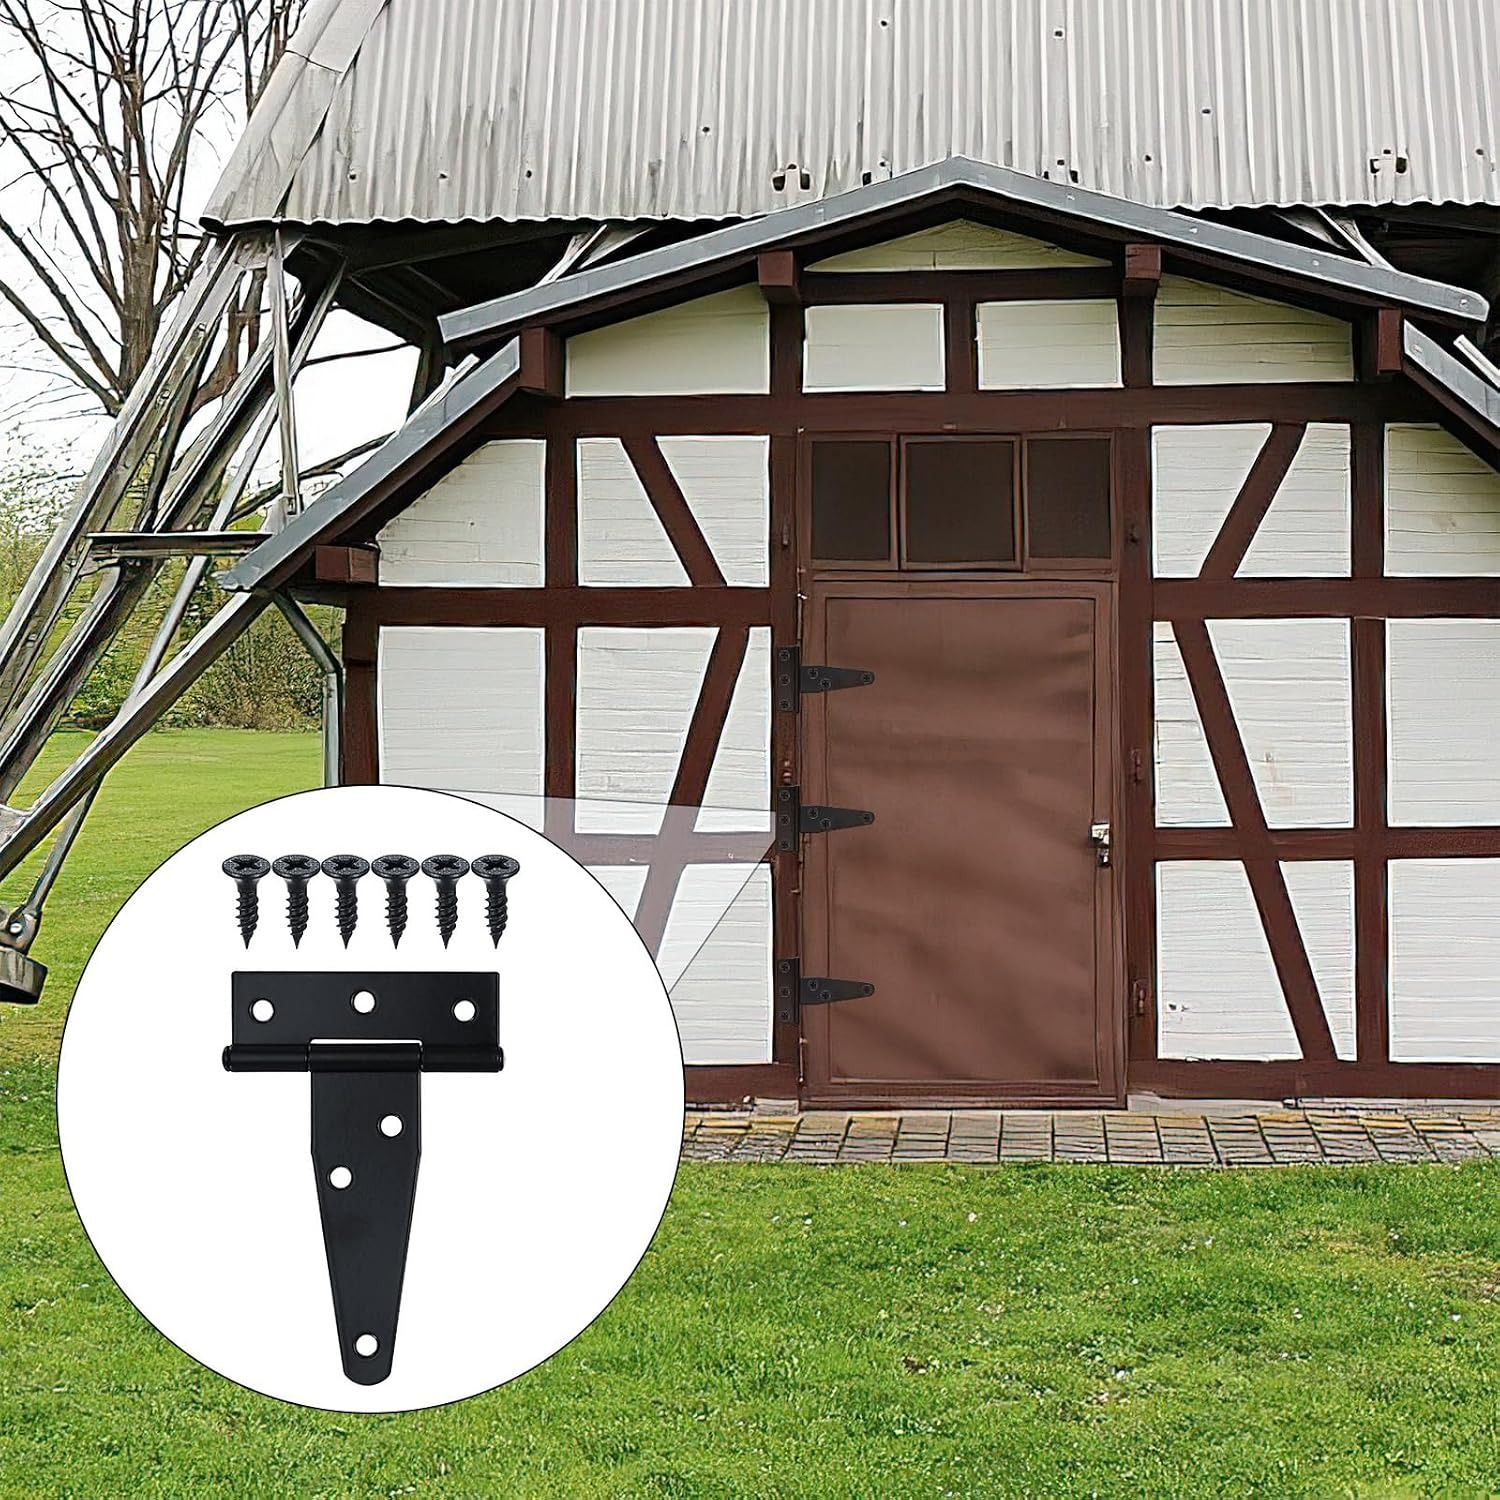
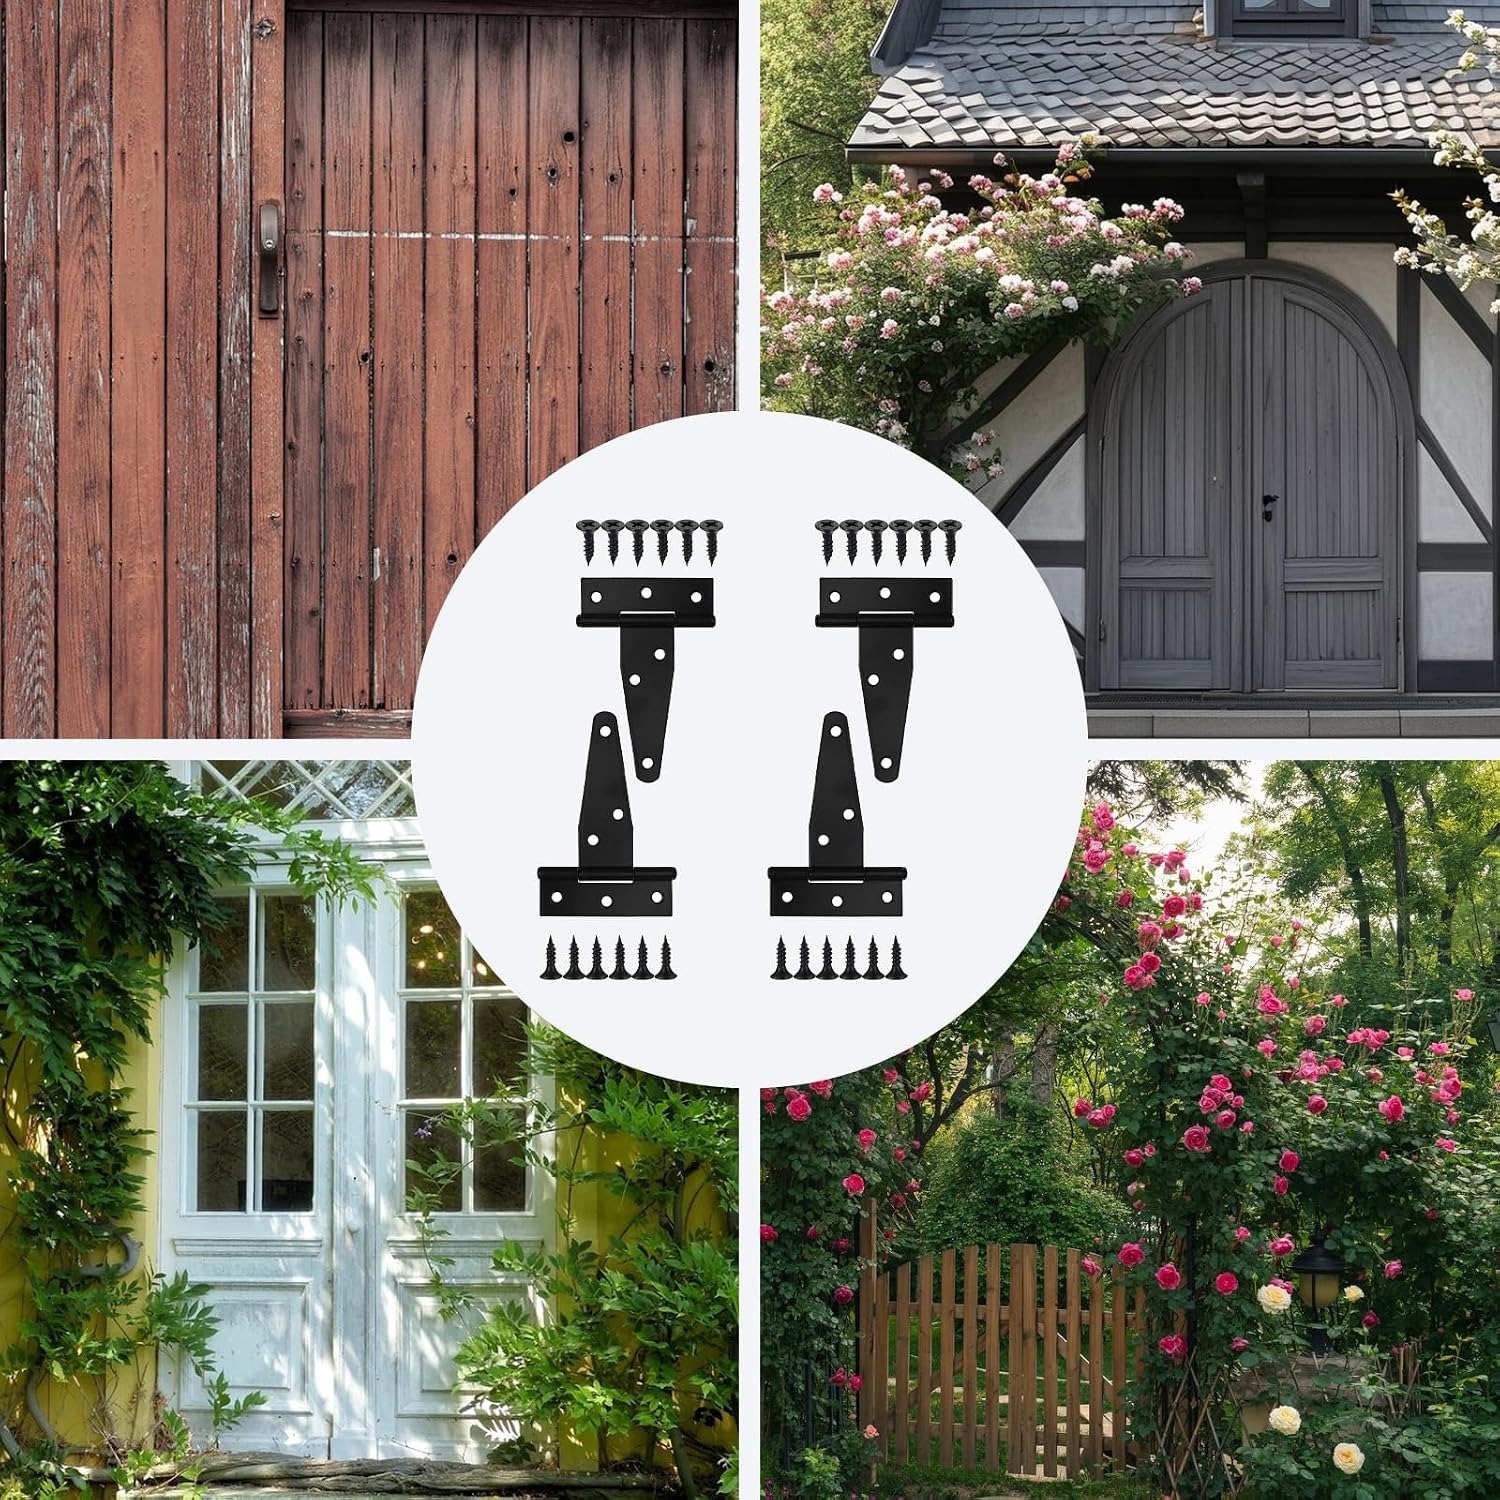
This pack contains four black T strap hinges with mounting screws. The product details list iron construction, a lacquered finish and dimensions of 7.6 x 6.4 cm. Those facts give you a useful starting point. The next step is deciding whether that size and style suit your door, rather than assuming one pack works for every shed or gate.
What a T strap hinge does
A T strap hinge has a long section that lies across the door face and a shorter mounting section at the frame or post. The joint between them allows the door to turn. Its shape leaves the hardware visible, so both placement and finish affect the final look.
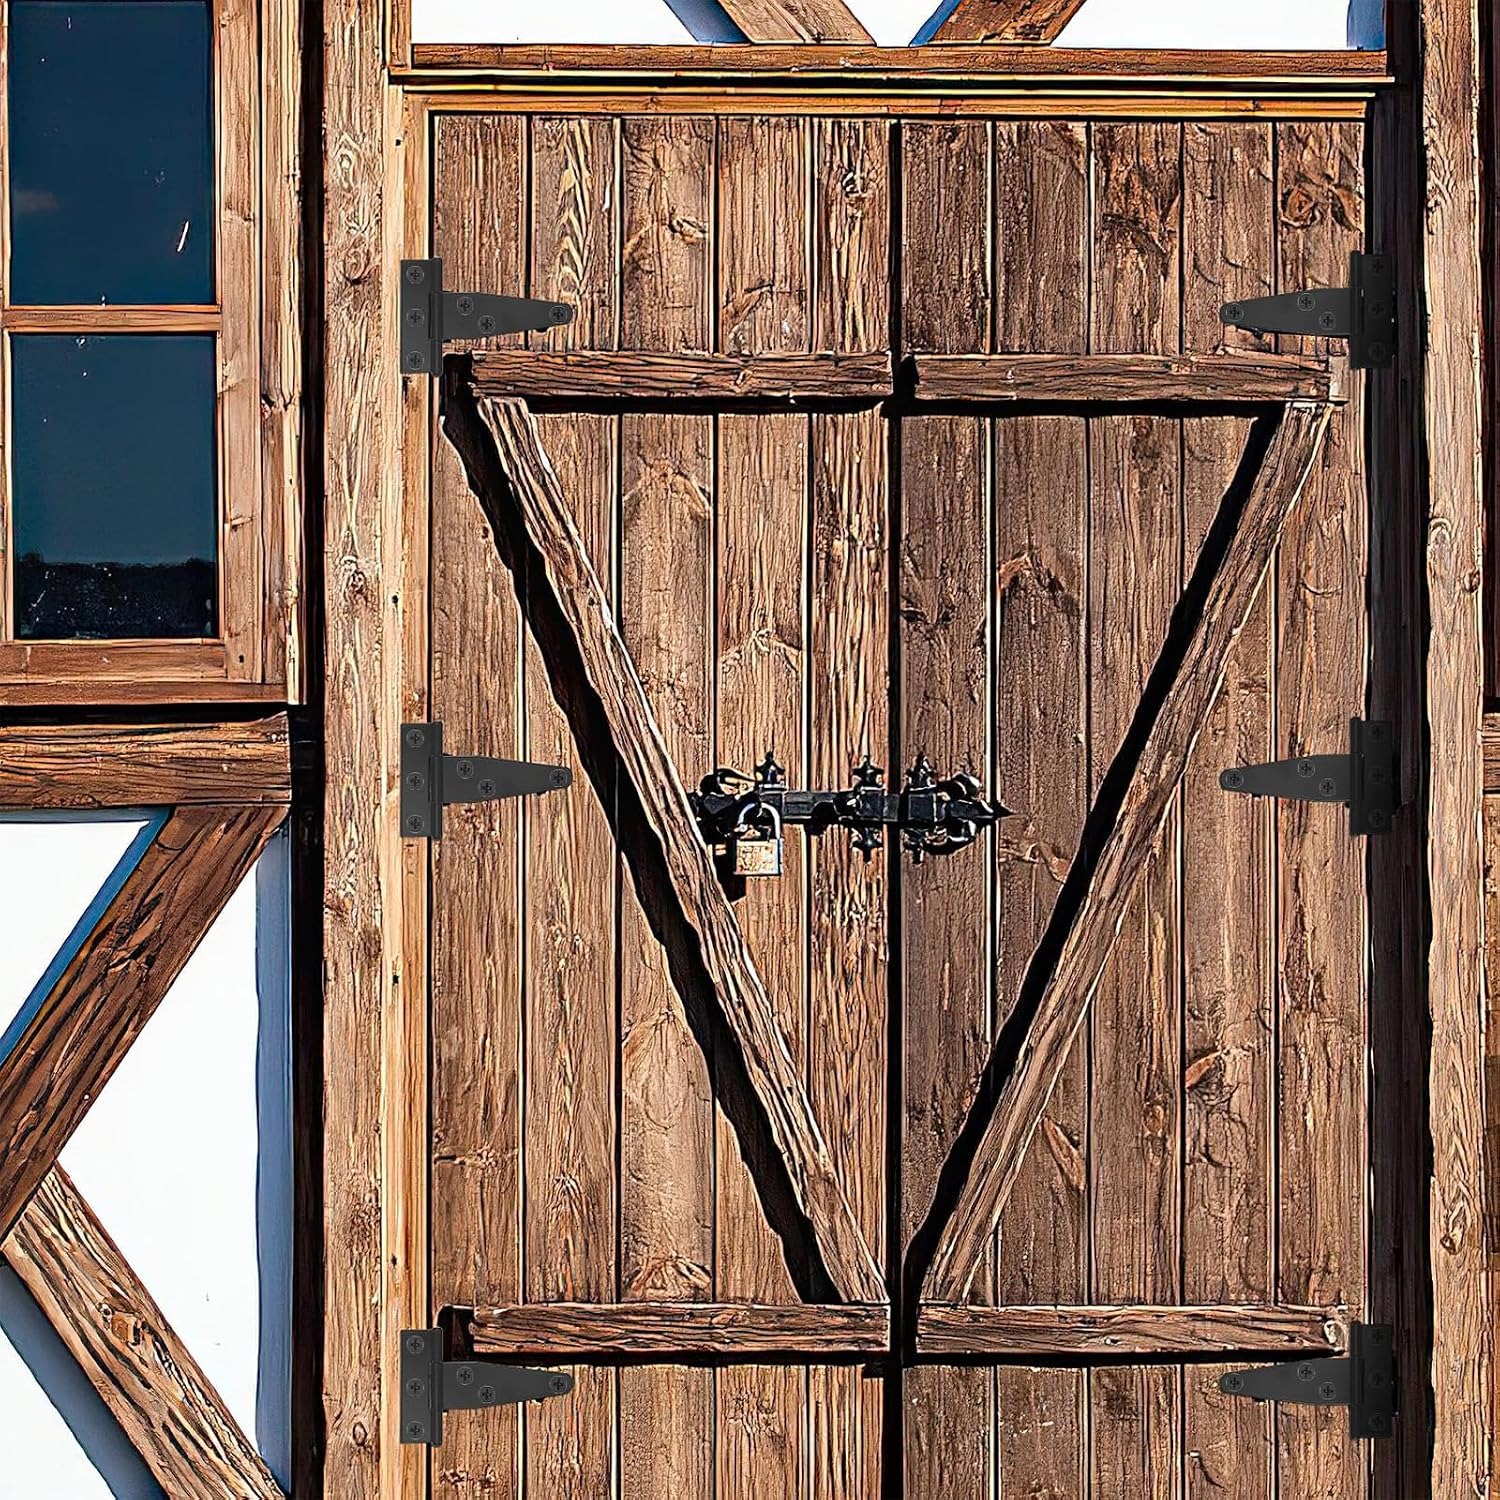
For timber projects, that visible strap can be a reason to choose this style. Black tee hinges can sit alongside other dark fittings without hiding inside the door edge. Still, the shape alone does not tell you how much weight a hinge can carry. That requires a stated capacity and a suitable fixing arrangement.
Start with the door, not the hinge pack
Before looking at replacement hardware, inspect the door itself. Is it square? Does it rub at the bottom? Is the frame firm, or does it move when you push it? A new hinge cannot correct every problem caused by weak timber or a shifted post.
Look closely at the old fixing points. Split wood, enlarged holes and soft patches can prevent screws from holding properly. If you are replacing shed door hardware, deal with those problems before fitting new hinges. Otherwise, the replacement may soon loosen in much the same way as the original.
For a new door, plan the mounting points before finishing the build. Leave enough sound timber for the chosen fixings and enough room for the door to move.
Understand the listed size
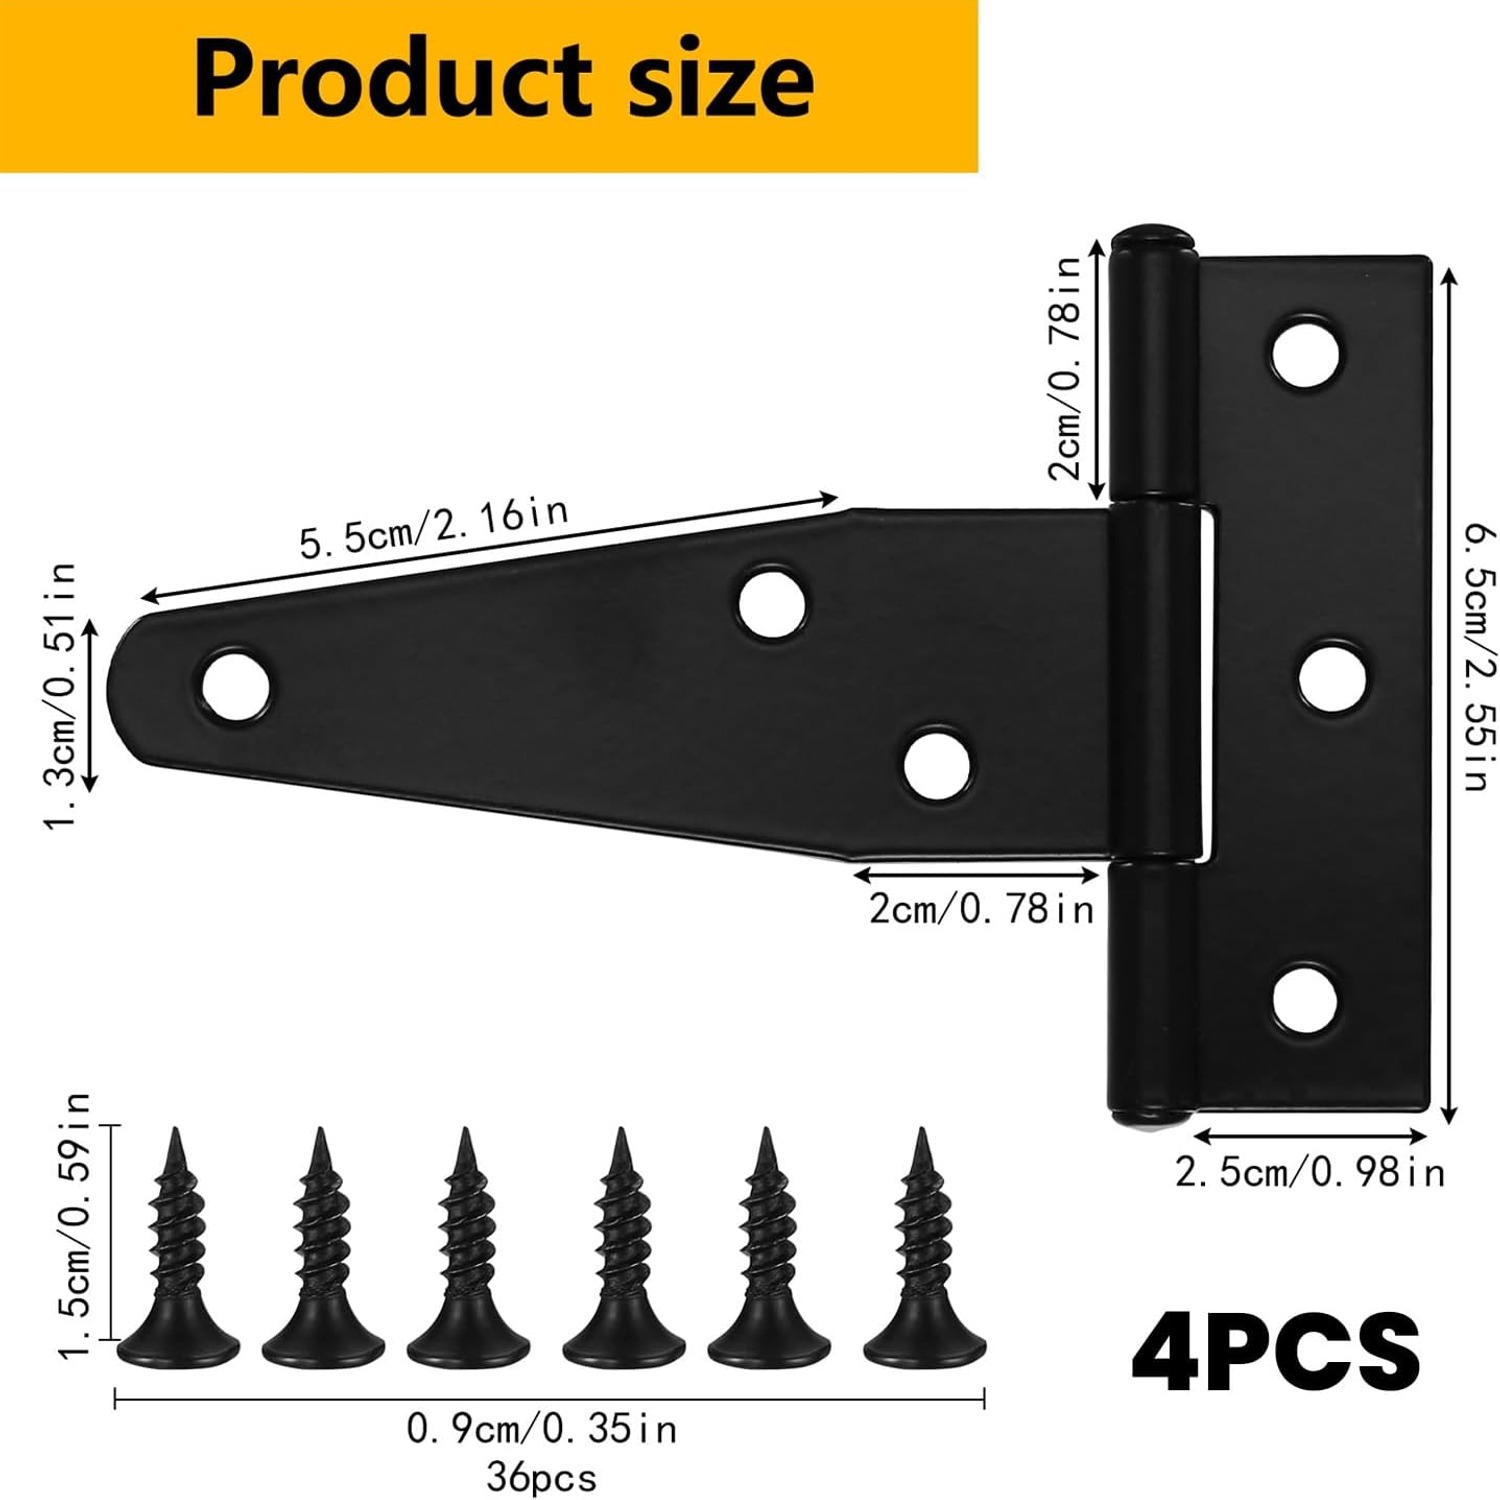
These hinges are described as a nominal 3 inch size. Their listed length and width are 7.6 x 6.4 cm. Use those measurements to compare the hinge footprint with your available mounting area, but do not treat them as a complete fitting drawing.
Thickness, hole spacing and the detailed joint dimensions are not supplied. If you need an exact replacement, overall length and width are only part of the check. An old hinge with a similar outline may still have different fixing positions.
A simple paper outline can help you judge the visible footprint on the door. It will not confirm screw positions, but it can show whether the hinge would sit too close to an edge, trim piece or other fitting.
Check load before choosing a quantity
The pack includes four hinges. That is the purchase quantity, not a rule about how many to install on one door. The right arrangement depends on the door's weight, height, construction and support.
There is no numerical load capacity in the maker's listing. That matters if you are considering wooden gate hinges for a broad gate or barn door hinges for a heavy door. A general mention of an application does not establish that every door in that group is suitable.
If the door is heavy, used often or positioned where a failure could hurt someone, ask for confirmed technical information. Where that information is unavailable, look for hardware with a clear capacity suited to the job.
Match the hinge to the project
The supplier suggests uses including shed doors, garden doors, cabinets, toolboxes and chicken coops. These are starting points for comparison, not automatic approvals. Each project has its own mounting space and loading needs.
For cabinet T hinges, the visible strap may take up a large part of a small door face. On a toolbox, check that the fixing ends will not interfere with stored items. For chicken coop hinges, think about damp conditions and whether the door has room to swing without catching nearby mesh or cladding.
The same care applies to garden gate hinges. A narrow timber gate and a wide, solid gate can place very different demands on their hardware, even when both are described simply as garden gates.
Be realistic about outdoor exposure
The structured specifications list iron with a lacquered finish. The supplier prose also mentions galvanizing, but the full coating system is not confirmed. There is no stated outdoor exposure rating or rustproof guarantee in the maker's listing.
That means you should not assume the black finish makes the hinges suitable for every outdoor location. A sheltered shed doorway and a gate exposed to frequent rain are different settings. Coastal conditions may also call for more specific material and finish information.
If weather resistance is a key part of your purchase, confirm it before ordering. Choose on the basis of verified information rather than the colour or a broad outdoor-use description.
Plan the swing and clearance
A hinge needs room to move, but the door and its surroundings also set limits. Check nearby walls, posts, cladding and handles. A door can catch an obstacle even when the hinge joint itself has more travel available.
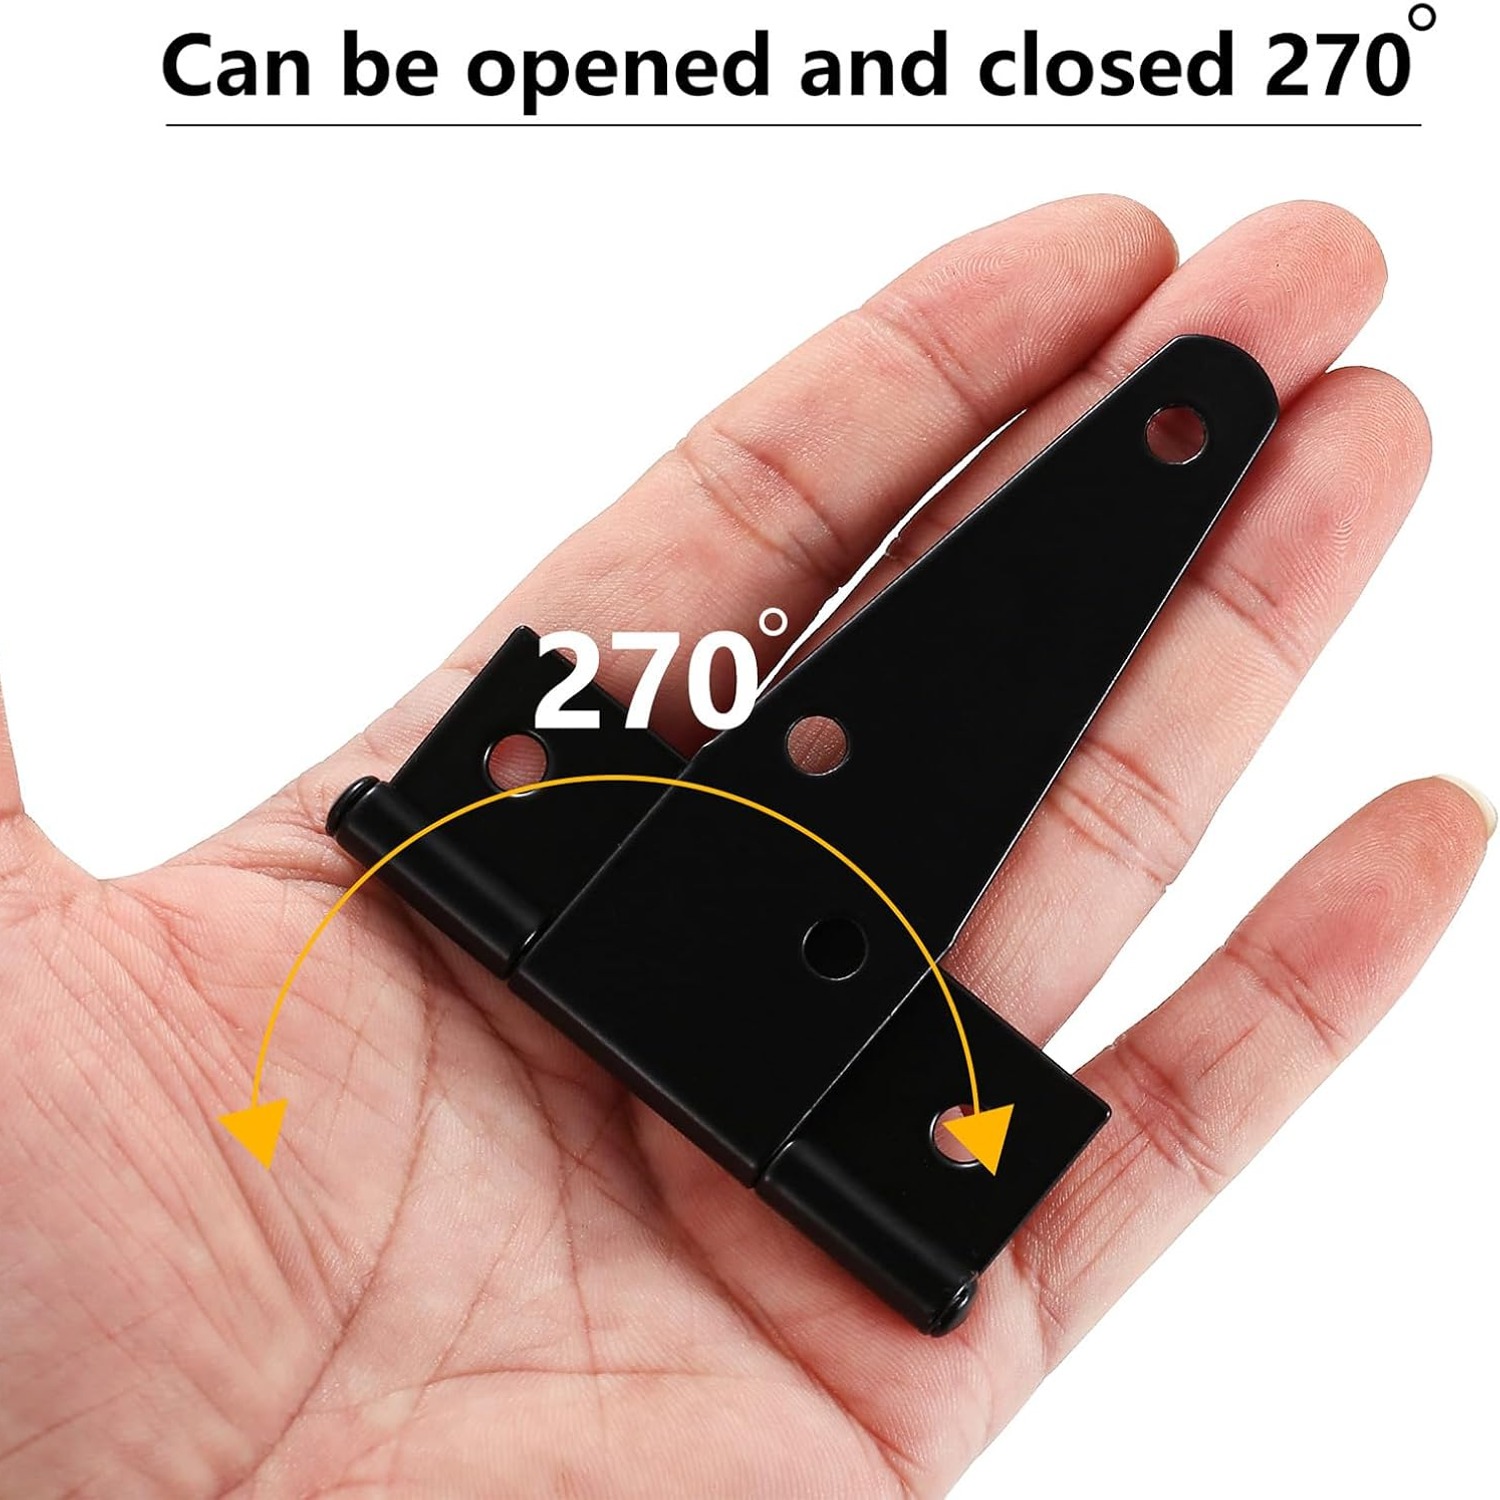
The source gives conflicting opening-angle claims of 180 and 270 degrees. For that reason, neither figure should be treated as a confirmed specification for this pack. If your project needs a particular opening angle, get that detail checked first.
Think about the full path of the door, not just its closed position. This is especially useful in tight sheds or beside fences, where a small obstruction can stop the door well before you expect.
Check screws before drilling
Mounting screws are included, which is useful when planning the job. Their dimensions and exact count are not supplied, though. Included screws still need to be checked against the material they will enter.
Compare the screw length with the timber thickness and available fixing depth. Consider what is on the other side of the door or frame. Do not assume that a supplied screw is right for every suggested application.
Before drilling, support the door and check its position against the frame. Mark the intended mounting points carefully. If you are unsure about fixing depth, pilot holes or door support, ask a capable installer for help rather than guessing.
Replacing old hinges without repeating old problems
Replacement shed hinges are easiest to choose when you can compare them with the existing hardware. Measure the old footprint and note where the joint sits relative to the door edge. Also check whether the old holes are still sound.
Do not force a new hinge into a poor position just to reuse existing holes. Different hole spacing may call for a repair or a revised mounting plan. The aim is a secure fixing and correct movement, not simply covering the marks left behind.
If the door already sags, check the supporting frame as well. Tightening or replacing hinges will not solve a loose post, and repeated adjustment can hide the real cause for a while.
Keep the finish and fixings in view
After fitting suitable hardware, make inspection part of normal upkeep. Wipe away dirt with a soft cloth and dry the hinges after cleaning. Avoid abrasive cleaners that could damage the finish.
Watch for loose screws, rust, damaged coating or changes in how the door moves. A door that starts rubbing is giving you a reason to check the whole installation. Forcing it can place more strain on the fixings and surrounding timber.
When matching black gate hardware, remember that black finishes can differ in sheen and tone. If a close visual match matters, compare the actual parts where possible rather than relying only on screen images.
The short version
These T strap hinges offer four matching black iron hinges, a listed 7.6 x 6.4 cm footprint and included mounting screws. They are worth comparing for suitable timber door projects where visible T-shaped hardware fits the design.
Confirm the mounting space, fixing needs and door load before buying. Hole spacing, screw dimensions and a numerical load capacity are not supplied, and the opening angle is unconfirmed. If those details are essential to your project, get them checked before you drill.